Raised Salt Painting Ultimate DIY
As an Amazon Associate I earn from qualifying purchases.
Creating 3D drawings with the use of salt is very popular painting method with children of all ages. And There are various methods to introduce the children to this amazing and simple painting technique. So more than being fun this art activity is also an unique way to introduce the idea of color mixing and texture to the children.
Materials Required
1.Hard paper or cut out ( to be used as surface)
2. White Glue - Buy here
3. Common Salt
4. Water colors ( be careful not to make a thick solution) and,
5. Brush / Dropper
Steps to create raised salt painting
1.Place your hard paper or any cut-out shape ( like the butterfly ) on a surface.
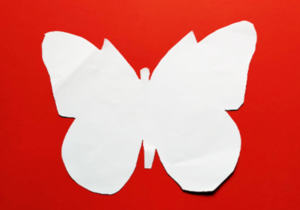
2. Let your children squeeze various glue designs in the cut-out as freely as they wish.
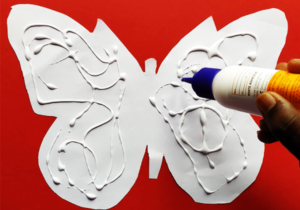
3. Now use the salt and sprinkle it all over the design. Make sure that all the glue is properly covered with the salt.
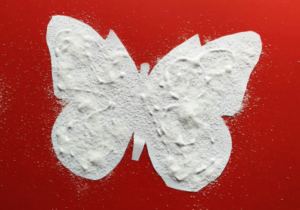
4. Wait for 5-10 minutes till the salt gets a little dry and then blow over it gently to remove the excess salt.
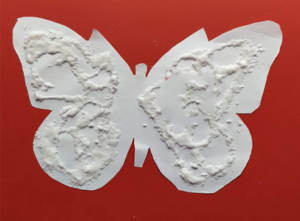
5. Dip the brush/dropper in a thin watercolor solution (use primary colors to observe color mixing) and gently drop the pain above the glued salt. Watch the colors magically spread through the salt. and finally,
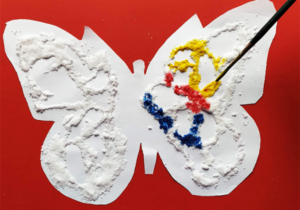
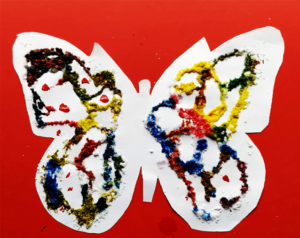
6. Once finished allow the paint to dry. Unfortunately these works cannot be kept for large periods as once the glue and salt gets too dried it may come off. But it is still indeed an enjoyable process art activity for your kids to participate in. You can also develop other similar ideas using glue and salt using different media and designs.
Watch a video of this for more insights here